
Last weekend, I set out a few more suet blocks for the birds. It took a couple of days, but suddenly, the yard was full of woodpeckers and a giant gang of feisty grackles. The grackles swoop into the yard in droves, yelling at anyone in earshot and driving our cats wild as they jockey for the best spot at the feeders. Grackles have really pretty iridescent feathers that they use to lure you in before attacking your face with sound. Seriously. There cannot be louder birds out there anywhere.
The commotion in the yard feels good, though. Winter days are isolating, especially in the pandemic, and it’s nice to be reminded of all the critters that I’m connected to (even if it’s just as a caretaker of their outdoor home).
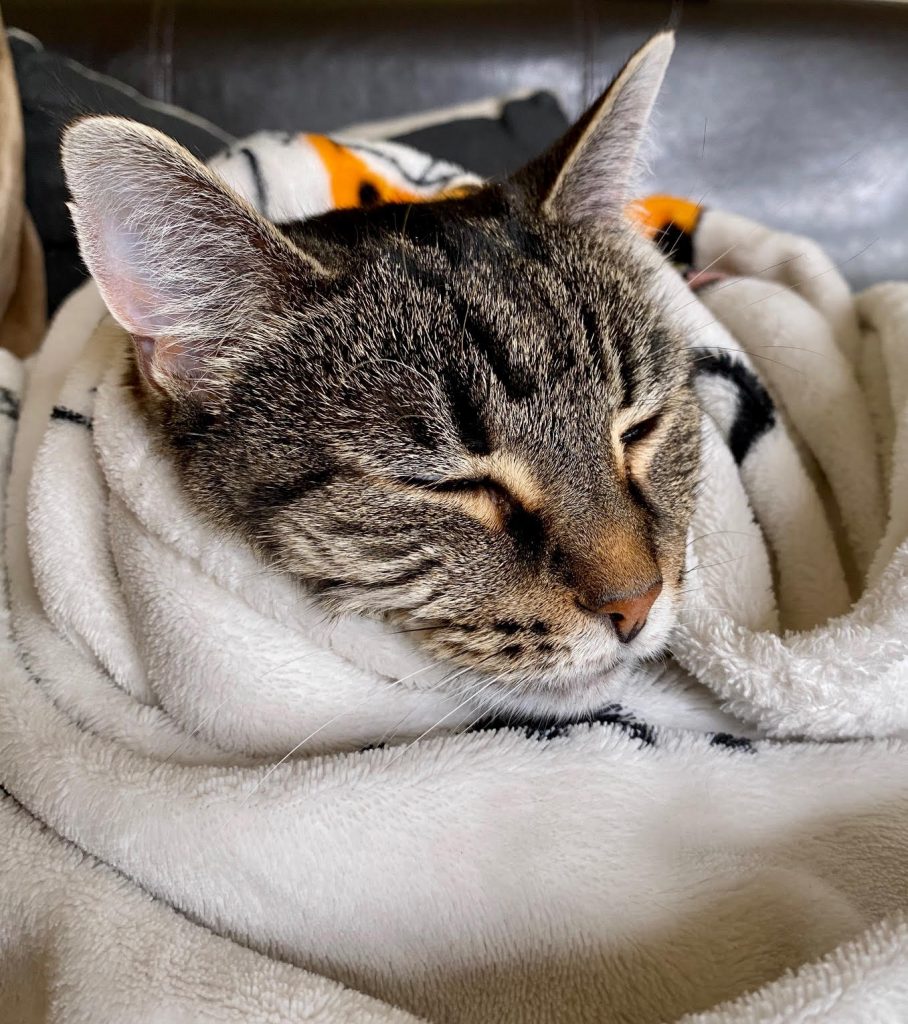
Georgiana the Bird Watcher, caught sleeping on the job.
Back inside, I’ve been working on my seed starting spreadsheet. There’s a lot of dates to keep track of and I do better when I over-organize projects. So, step one is to list all of my seeds, with the planting method (will I direct sow them/winter sow/start indoors), sowing dates, and planting instructions.
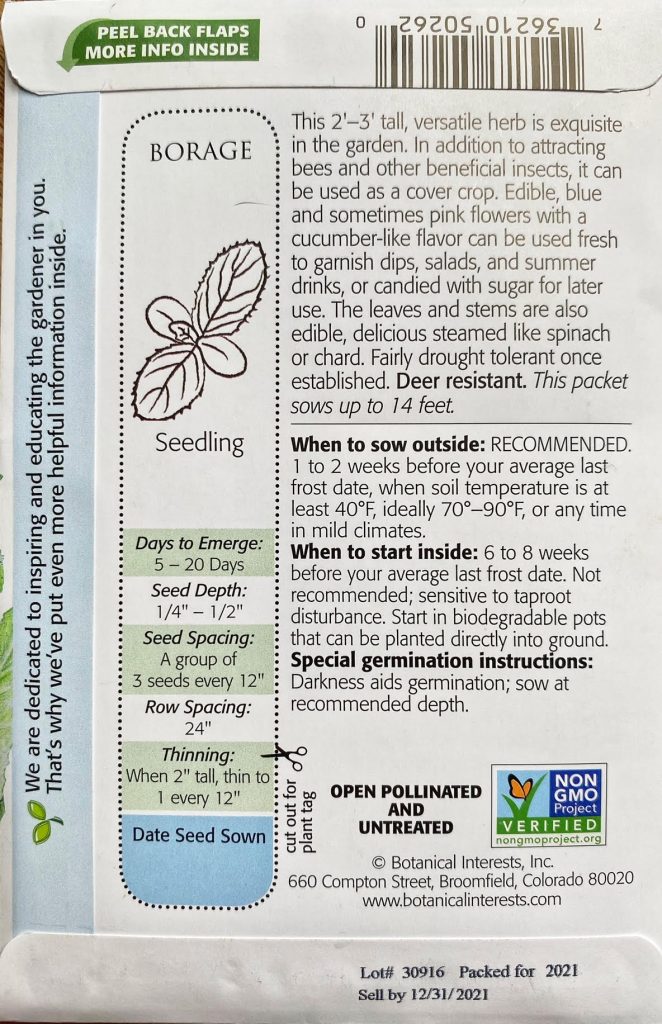
Each seed packet gives a lot of information. Take, for example, this borage seed packet from Botanical Interests. The back of the packet tells me that these seeds will grow better if I directly plant them outside, just before the last frost date. The seeds should be planted 1/4″-1/2″ deep, and I should see growth in 5-20 days. While I’m planning to grow this borage for the bees to enjoy, apparently, the flowers, leaves, and stems are edible. Who knew.
I’m tracking these details on my spreadsheet, and then sorting the sheet by planting method. The majority of my seeds will be planted directly in the ground after the last frost date. Some of the more fussy plants, like the tomatoes and peppers, I’ll be starting inside, under grow lights. The seed packet will give a good idea of when to get things going, usually by stating how many weeks before the last frost date to plant. Know Thy Last Frost Date. Everything kind of lives by this when gardening. Literally.
While I’m still a few weeks away from starting my indoor seeds, now is a great time of year to start winter sowing.
Winter Sowing is something I’ve seen gardeners doing for awhile, but this will be my first year trying this particular sowing method. Basically, the idea is to start seeds outside, in containers. Seeds that need to stratify over a cold period to break their dormancy will thrive in this method, as will many other plants, from vegetables to herbs. Winter Sown Educational provides free, downloadable lists for which plants work well with winter sowing. I highly recommend looking through their website to see if you can try out some of your seeds this way.
Starting seeds by winter sowing has a lot of benefits. It’s very cost effective. You don’t need grow lights, or a lot of space. All that’s required, material-wise are your seeds, some seed-starting soil, and an empty container like a milk jug (grab one from the recycling bin and feel extra good for re-using your plastics). Finally, winter sowing saves water, since you don’t have to water your seedlings at all unless they seriously dry out. And plants that are sown this way won’t have to be hardened off, because they’ve grown up outside. (Hardening off is when you slowly expose your growing seedlings to the outdoors before planting so they can adjust to the sunlight, wind, and temperatures of the outdoors).
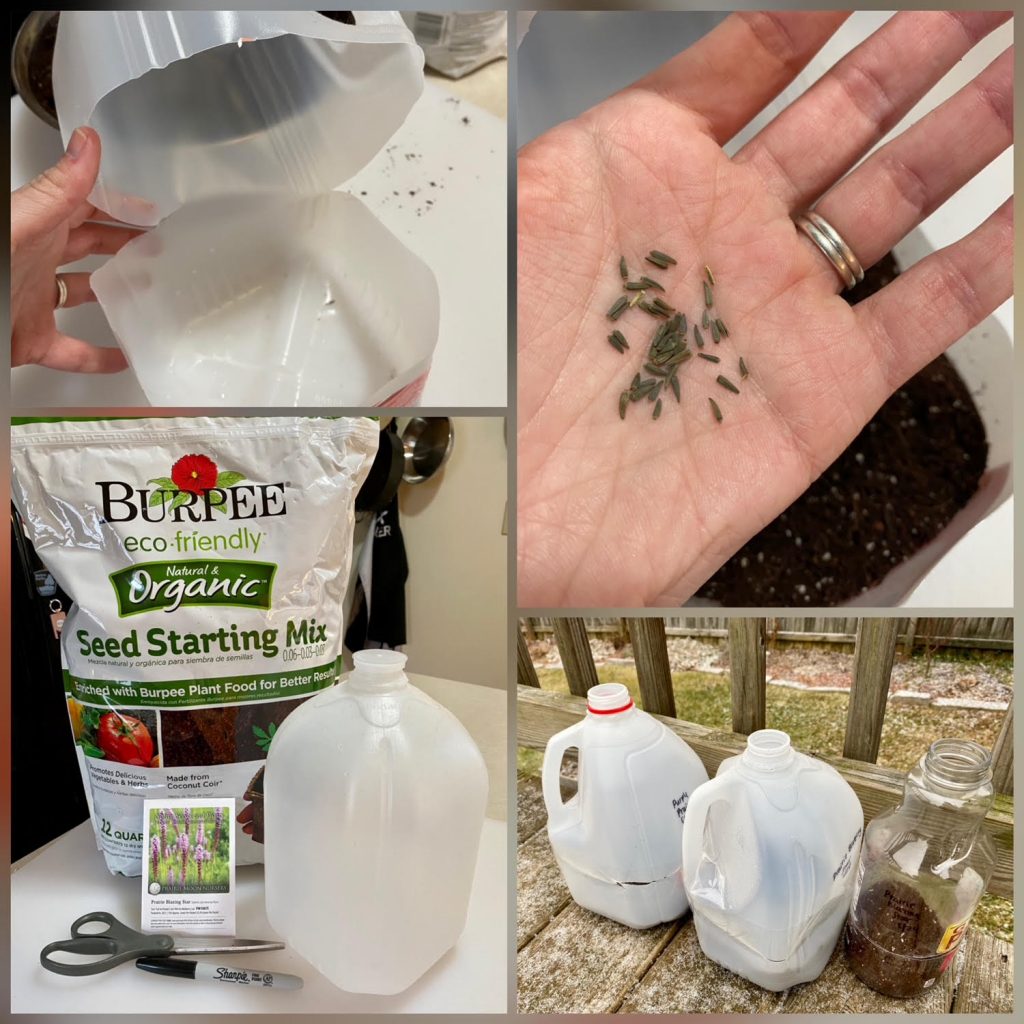
The process is pretty simple. Collect some empty milk jugs or other plastic bottles, seed starting soil, tape, a marker, a knife or scissors, and your seeds. Puncture a few little holes into the bottom of your container.
Next, cut your container in half. I cut mine most of the way around, leaving a little spot to act like a hinge. Lightly wet down your soil, and add it to the container, a few inches deep. Check your seed packet for planting instructions. Gently pat down the dirt over your seeds so they make contact with the soil. Lightly water them, then tape the container back together. Duct tape works great for this, as does the packing tape you randomly found in the box with your Christmas wrapping paper. Mark the container with the type of plant, and the date. Finally, set the container outside in an area where the top won’t be blocked by anything. You want to keep the top of the container off so the rain and snow can get in and water your seeds.
Check on your seeds every so often if it’s been dry, but otherwise, this is a great “set it and forget it” method of starting plants. Happy gardening!