Category Archives: Seeds

Windy Days and Veggie Ways

It’s barely been spring for a week here in Ohio, but it feels like the season is really in full swing. We’ve been having 70 degree days, followed by 40 degree days, and wild wind storms. I’ve lost track of the number of times I’ve chased down the grill cover and reattached it (which reminds me, where the heck are the bungee cords that I ordered?!) and it seems like every night, I’m awoken to the dulcet tones of something on the deck banging into the railing in an attempt to scoot away. The pots of tulips and strawberries are now permanently relegated to the corner behind the cold frame. It doesn’t make for good viewing, but at least I’m not wading out onto the deck each morning in my bathrobe to repot them. You’re welcome, neighbors.

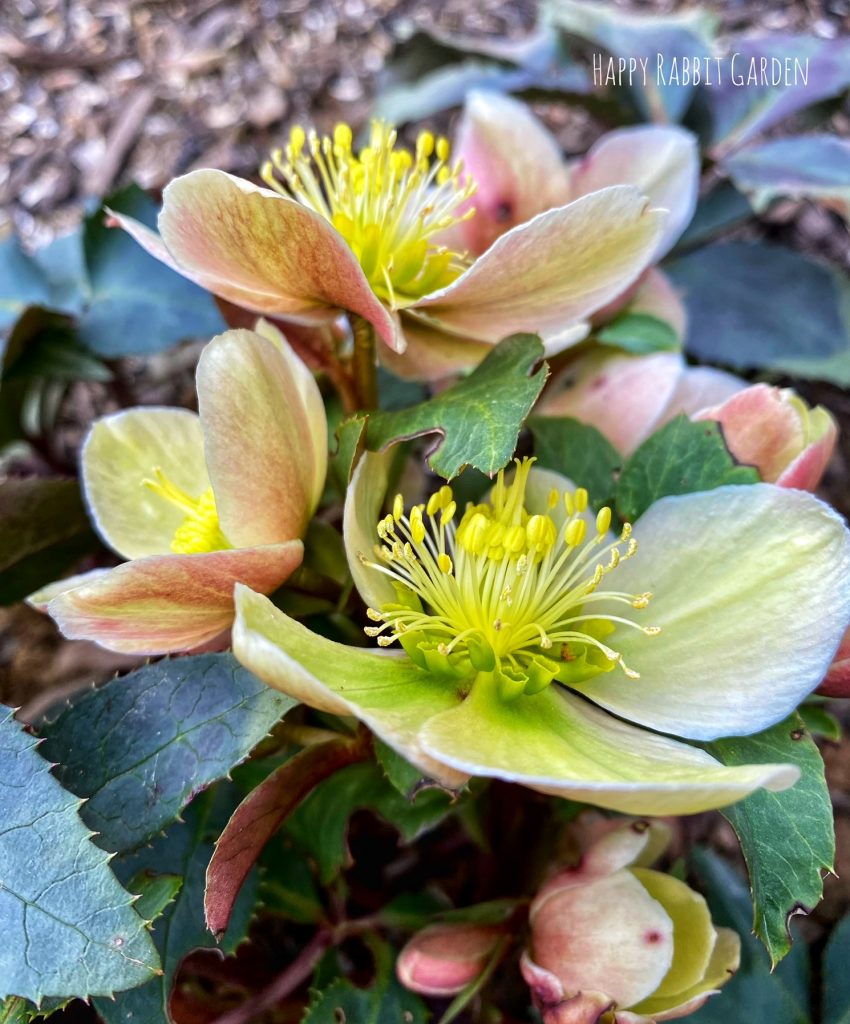
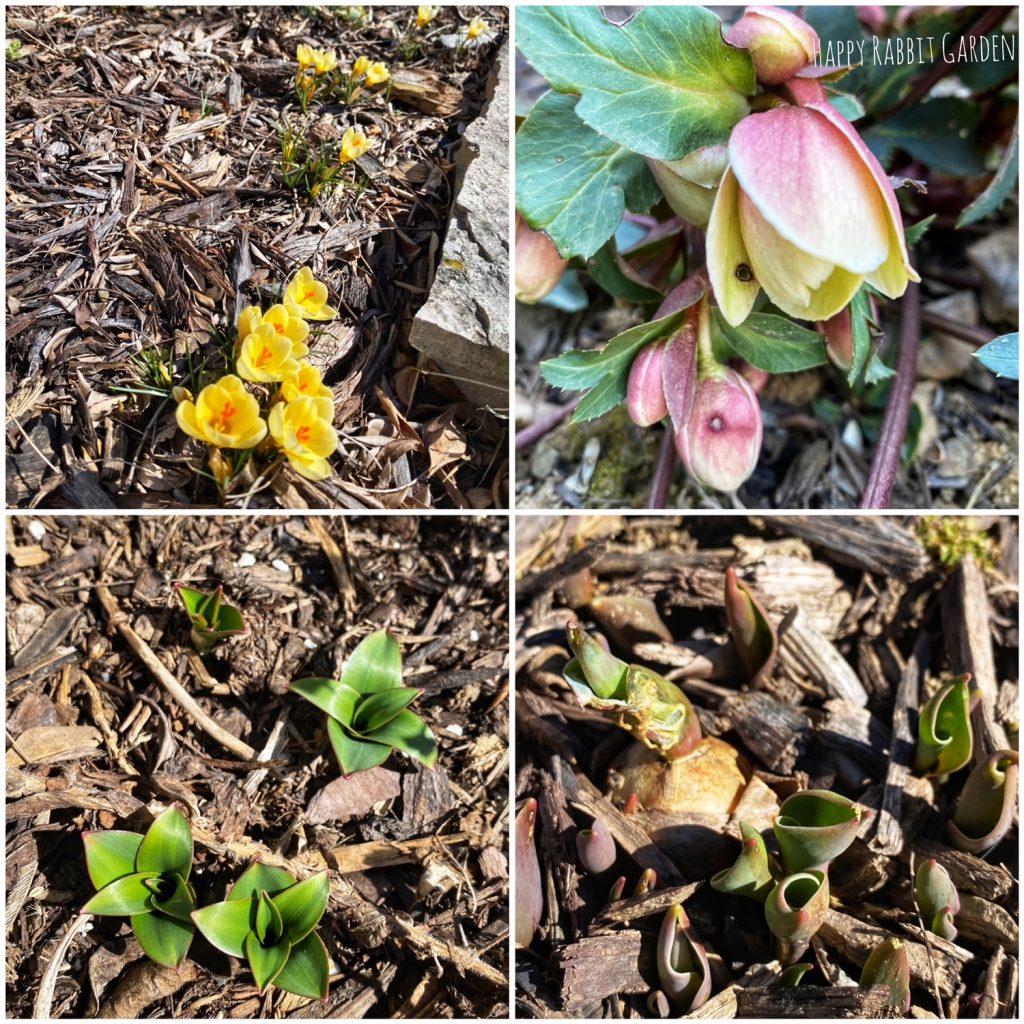
Aside from our traditionally unpredictable spring weather, I’ve been doing a bit of weeding in the flower beds. I’m waiting to trim back all the perennials for another week or two, in case any flower stalks are housing wildlife like solitary bees. Once it’s consistently above about 55 degrees F during the daytime, they will have flown the coop and it will be safe to tackle the garden clean up.

I had the company drop the compost in the middle of the driveway, so I’d be forced to deal with it or I couldn’t leave the house.

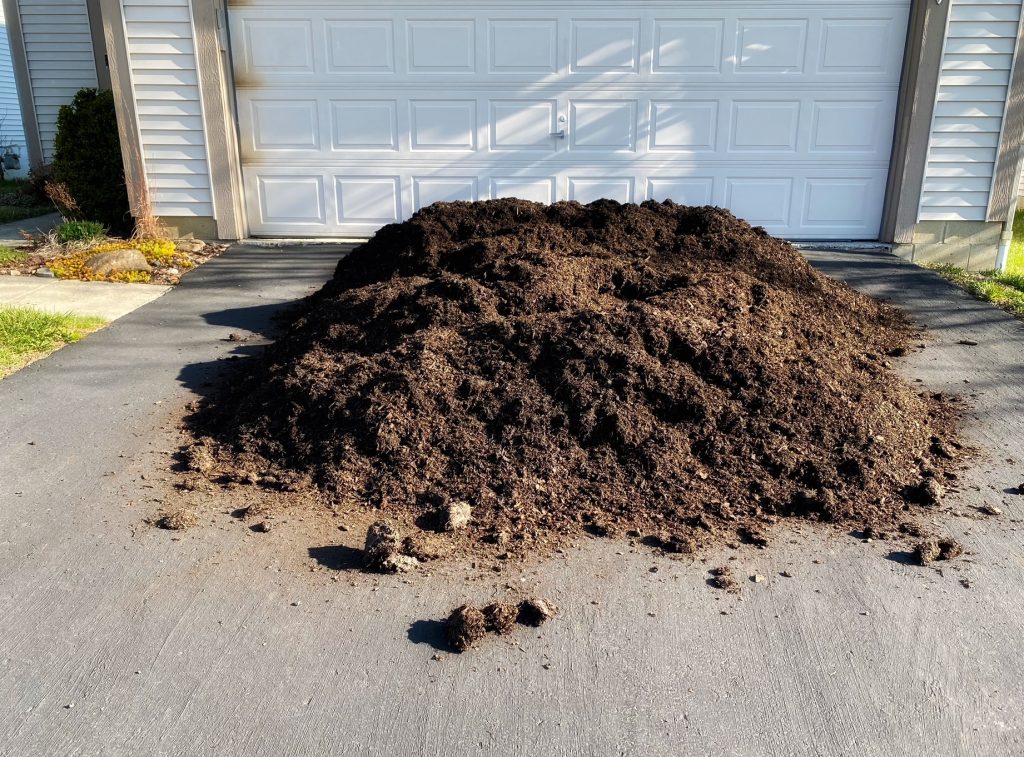
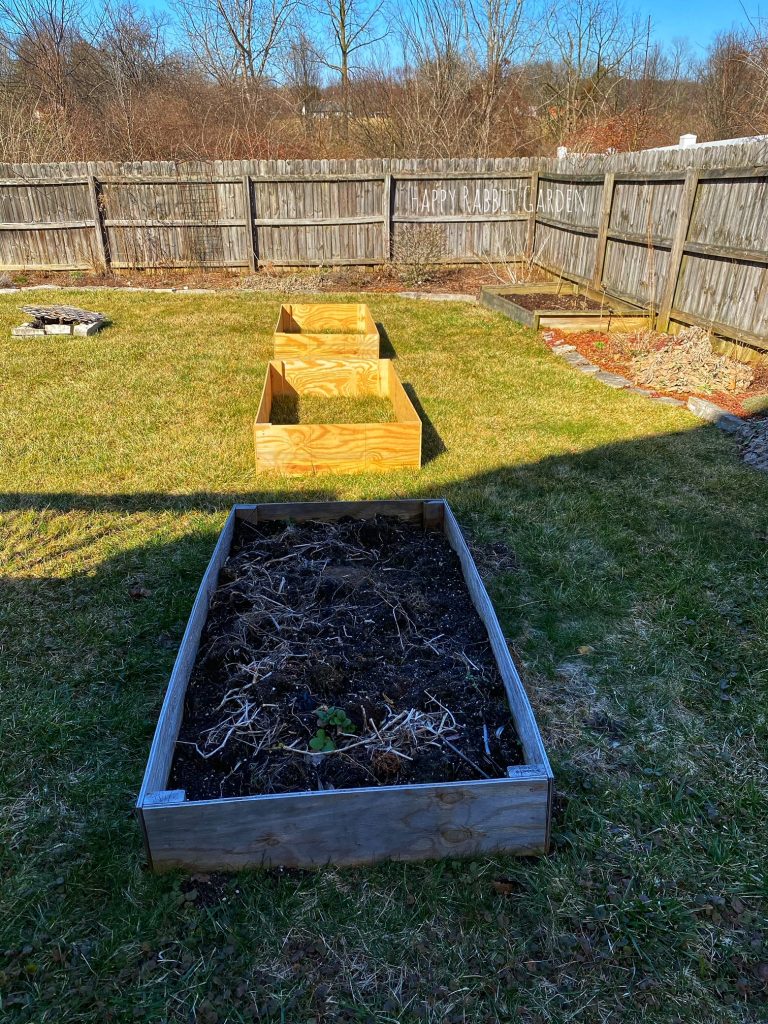
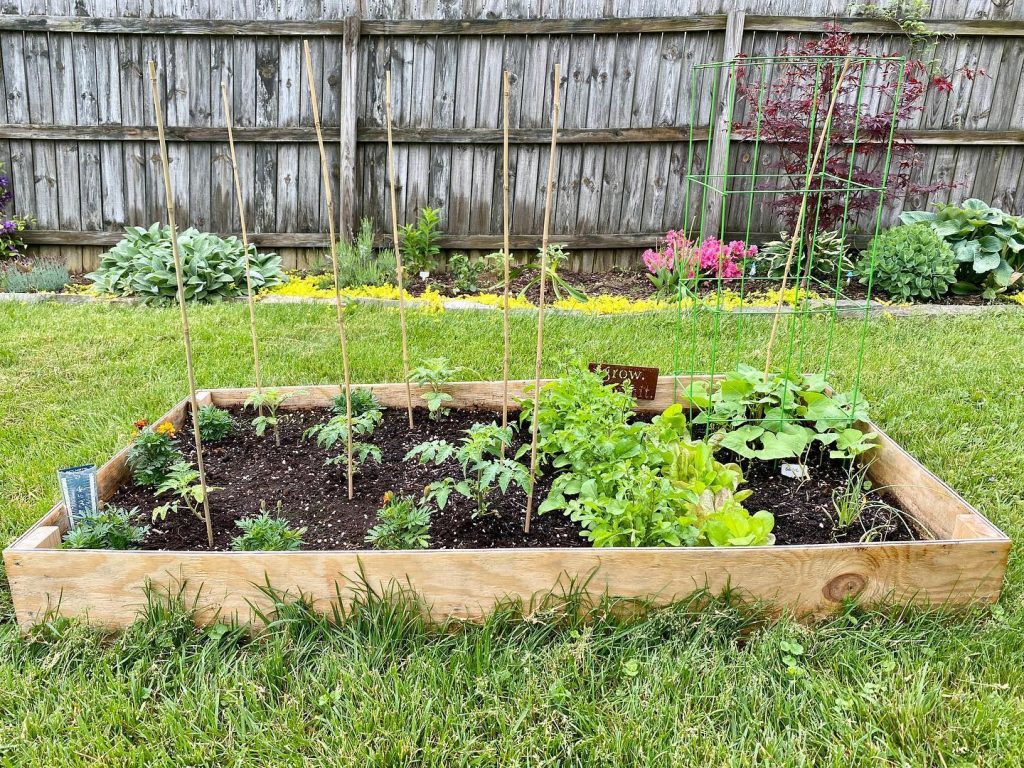
This past weekend, we had two cubic yards of leaf compost delivered. Someone ordered about twice as much as she needed, so in addition to filling the raised beds, a few of the flower beds around the yard were topped off. I’m sure that will make the plants very happy. I know I’m certainly happy that I won’t have to mulch those beds, since the leaf compost will serve the same purpose as mulch would have. In fact, it will do a far better job and add plenty of good nutrients into the soil.
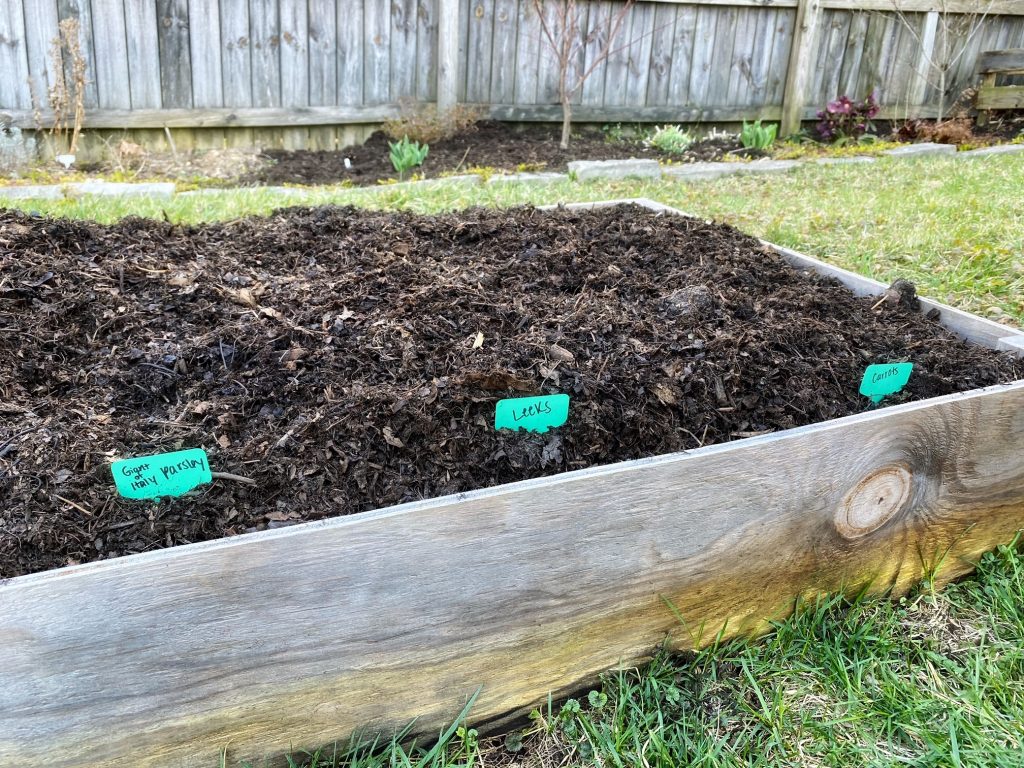
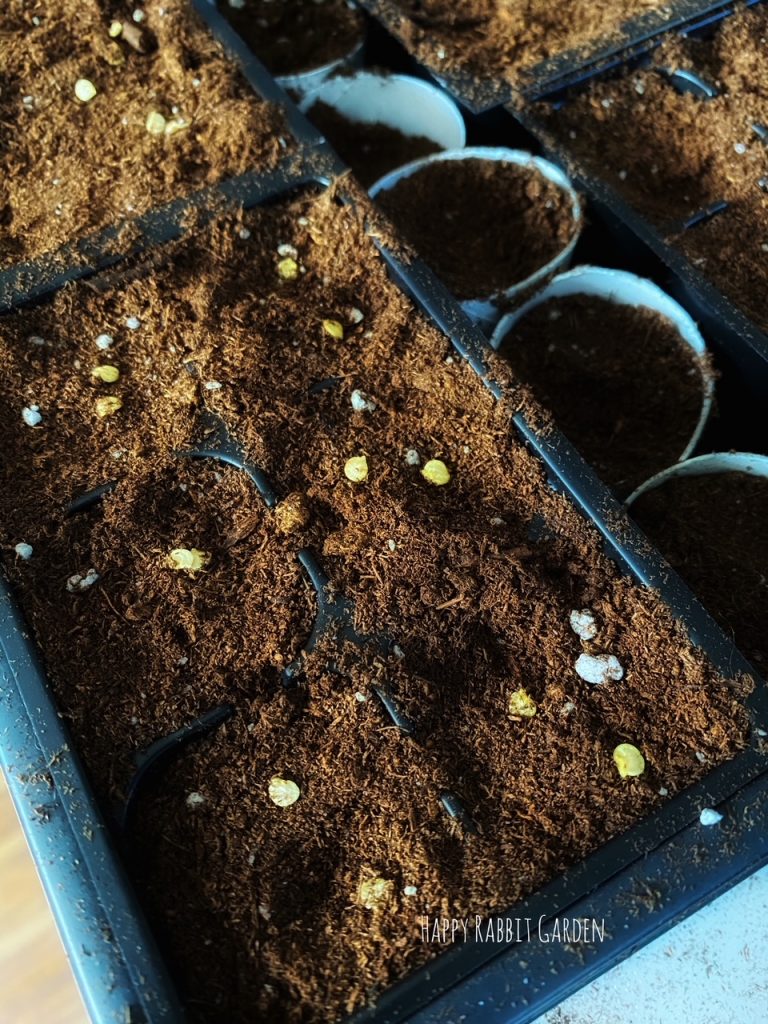
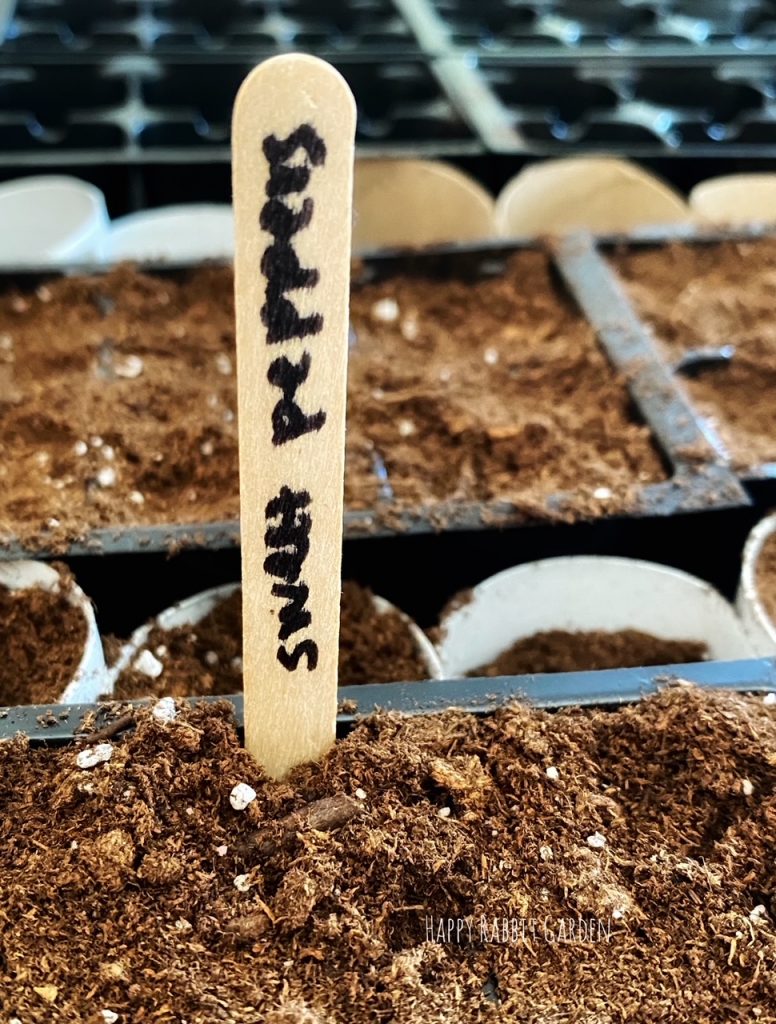
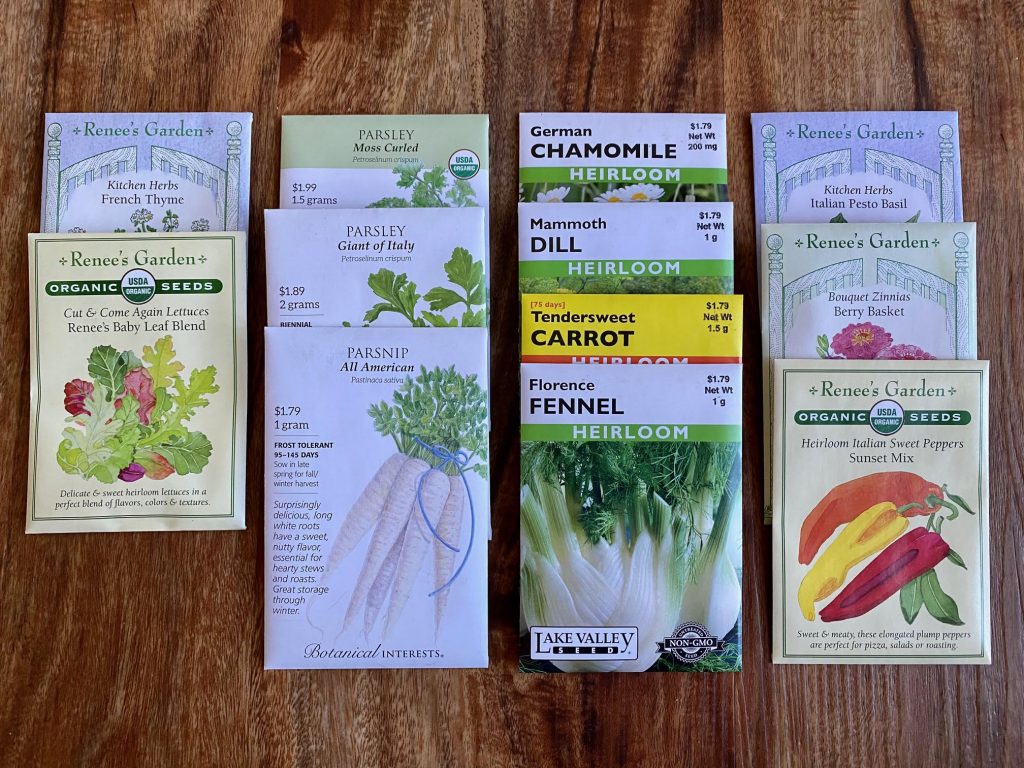
I spent some time in the afternoon Saturday sowing some seeds in the freshly-made beds: carrots, leeks, and parsley. Not much else can get started outside quite yet, but these cool season crops will grow nicely even with the frosts we’ll have for another month or so. I’ve never grown carrots or leeks, so I’m excited to see how things turn out.
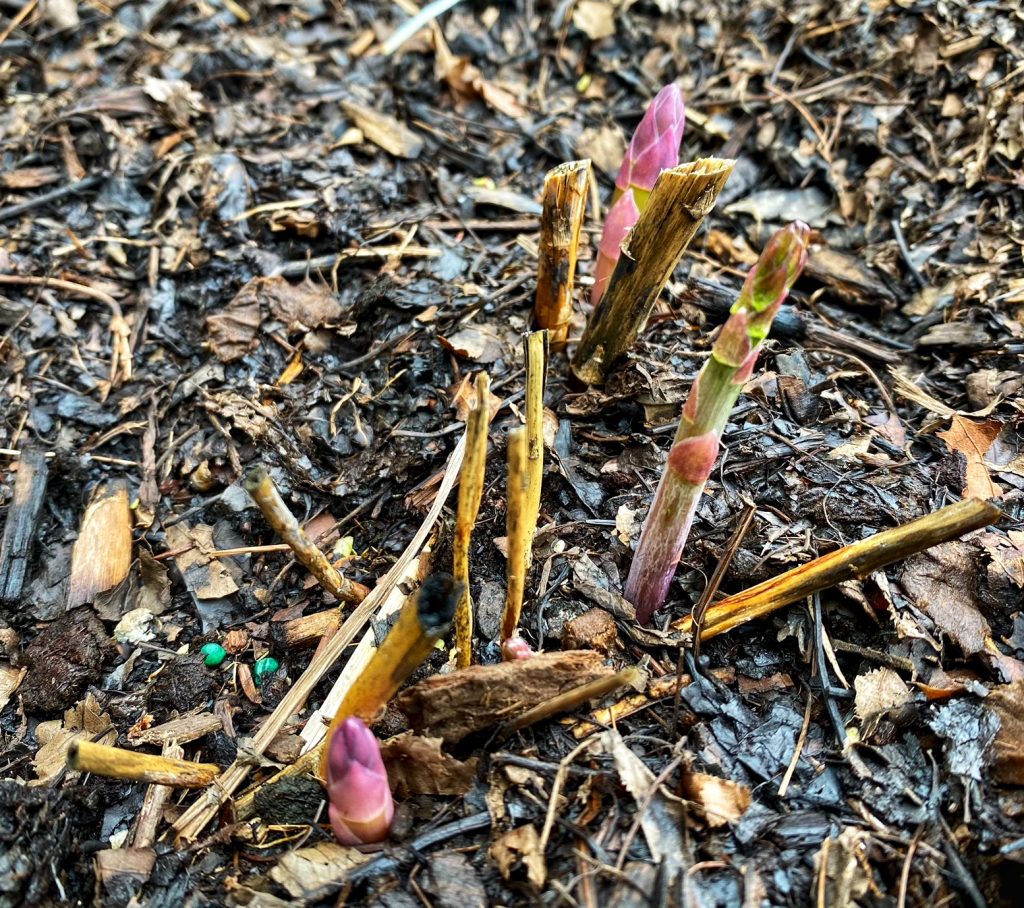
Another crop that loves the cold, asparagus, is already popping up in our first raised bed. We planted a few rows of it three years ago. Asparagus is an exercise in patience, and requires a lot of space to grow. It doesn’t like being crowded, and pitches a fit if you try to move it around. Also, it takes about three years to be established, so it’s not a great crop for everyone’s garden. But, we are Asparagus People. Sprinkle a little olive oil and salt on those spears, and pop them on the charcoal grill for a good time. Anyway, our asparagus is starting to emerge and I cannot wait for the first harvest!
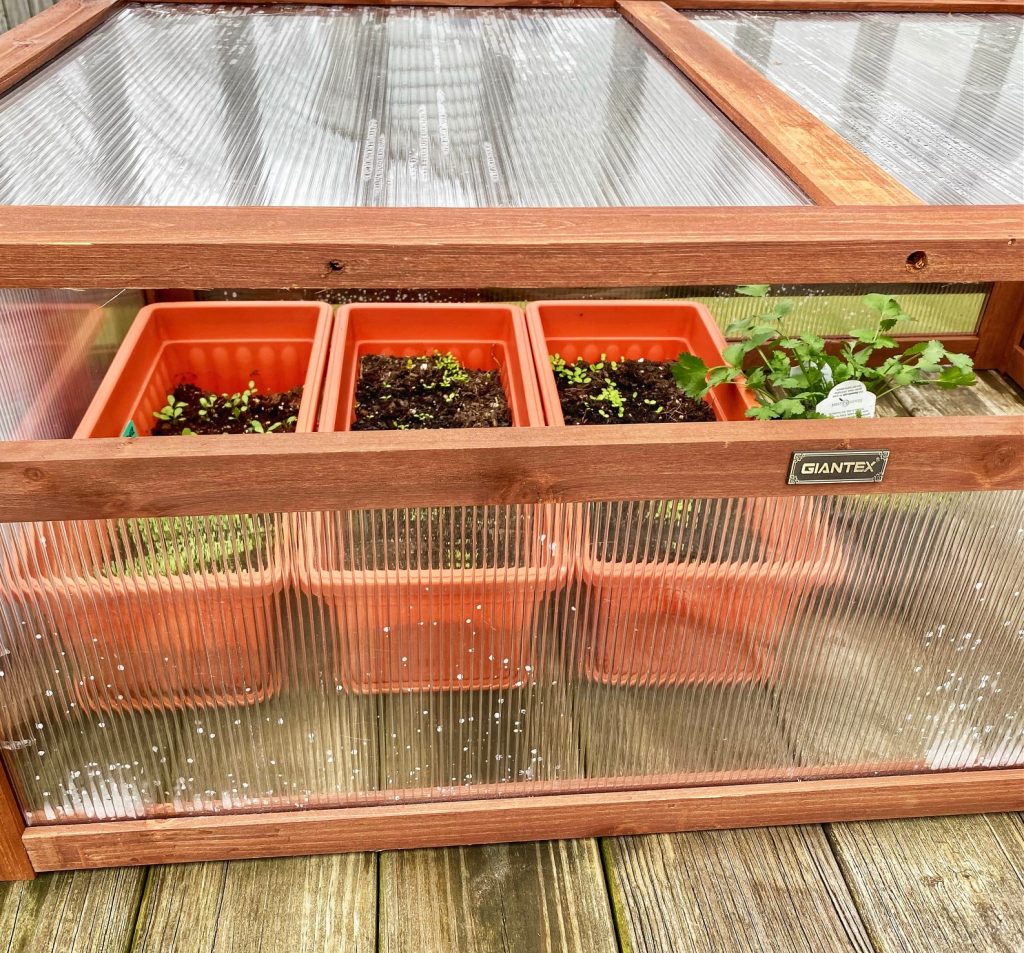
The bibb and baby lettuces and the sorrel I started in the cold frame are also cruising along. We should be able to enjoy some fresh salads here in a few more weeks.

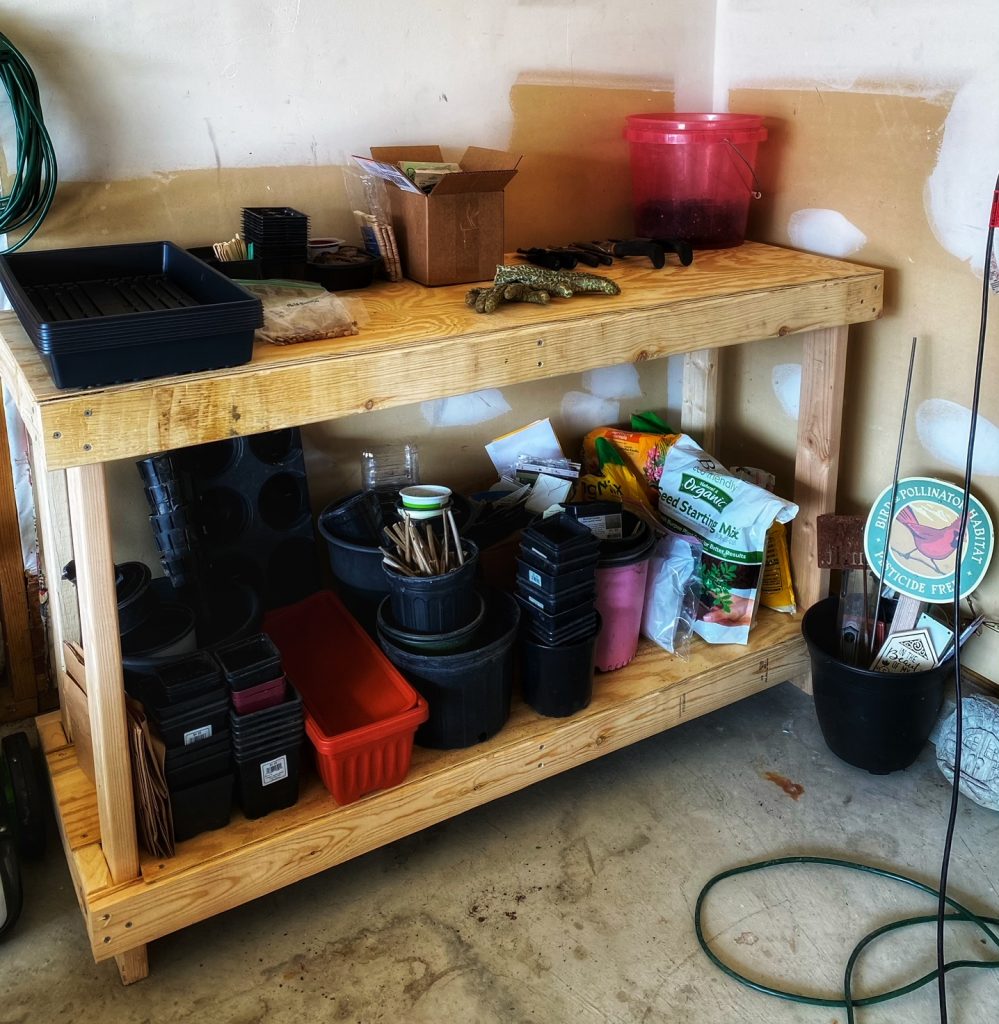
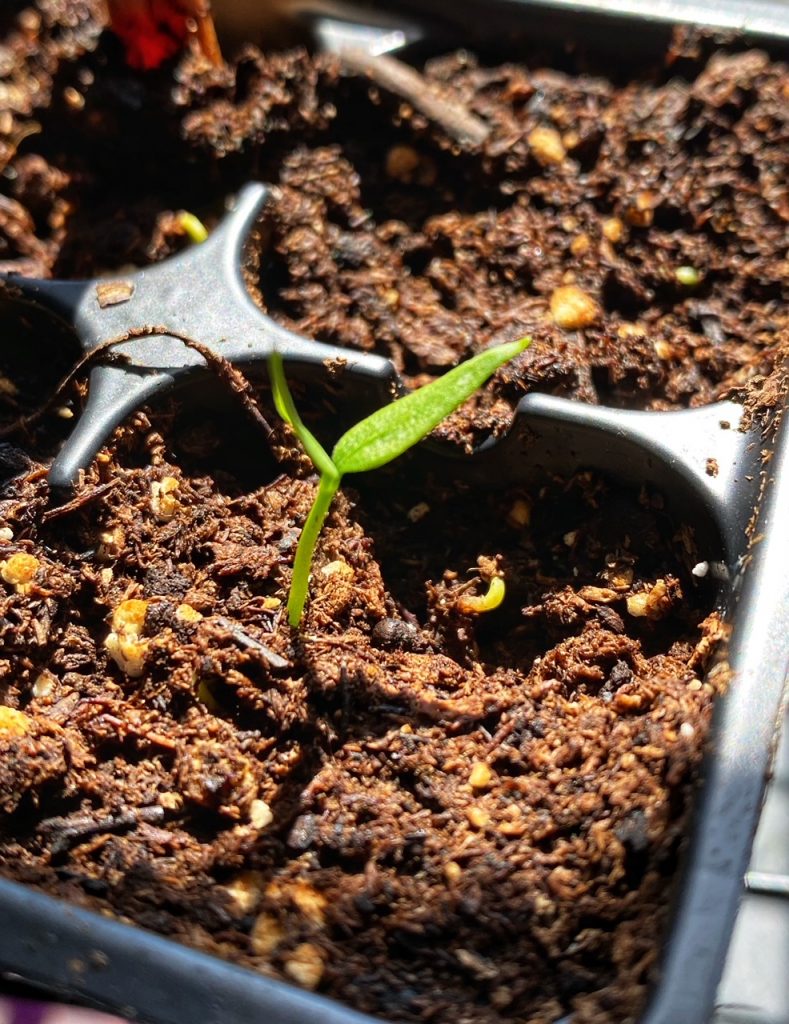
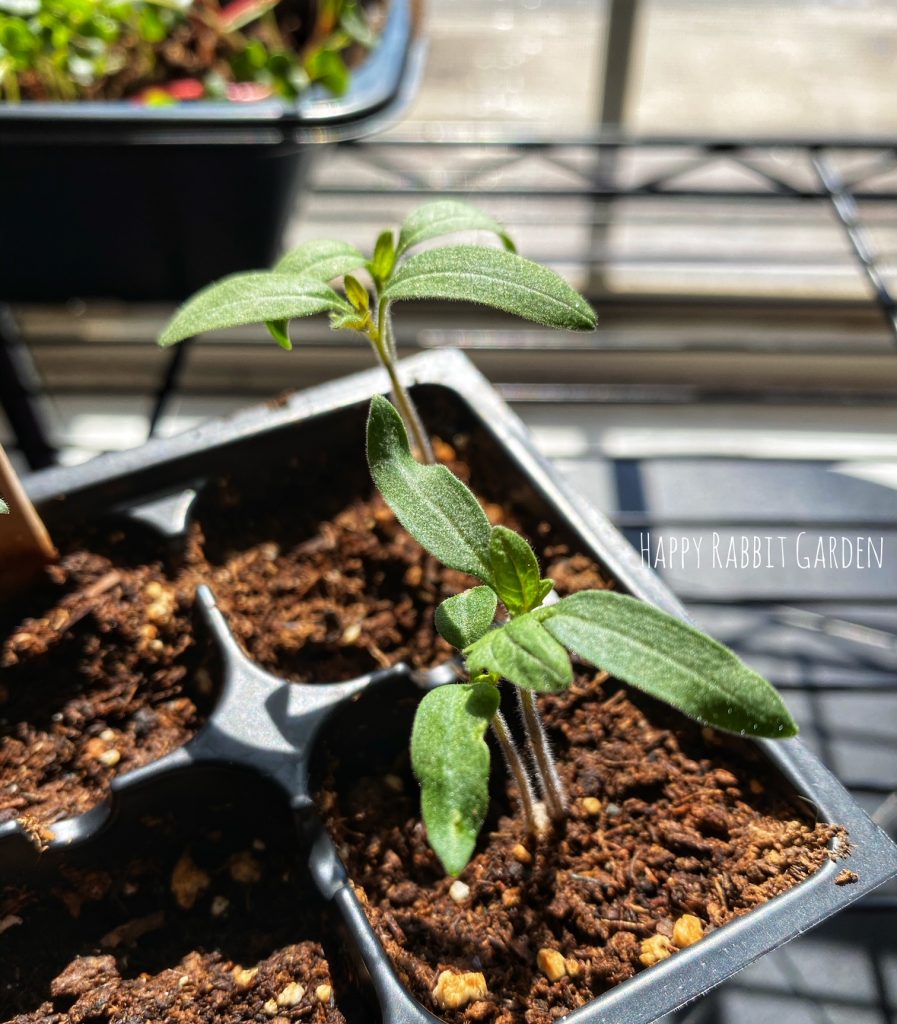
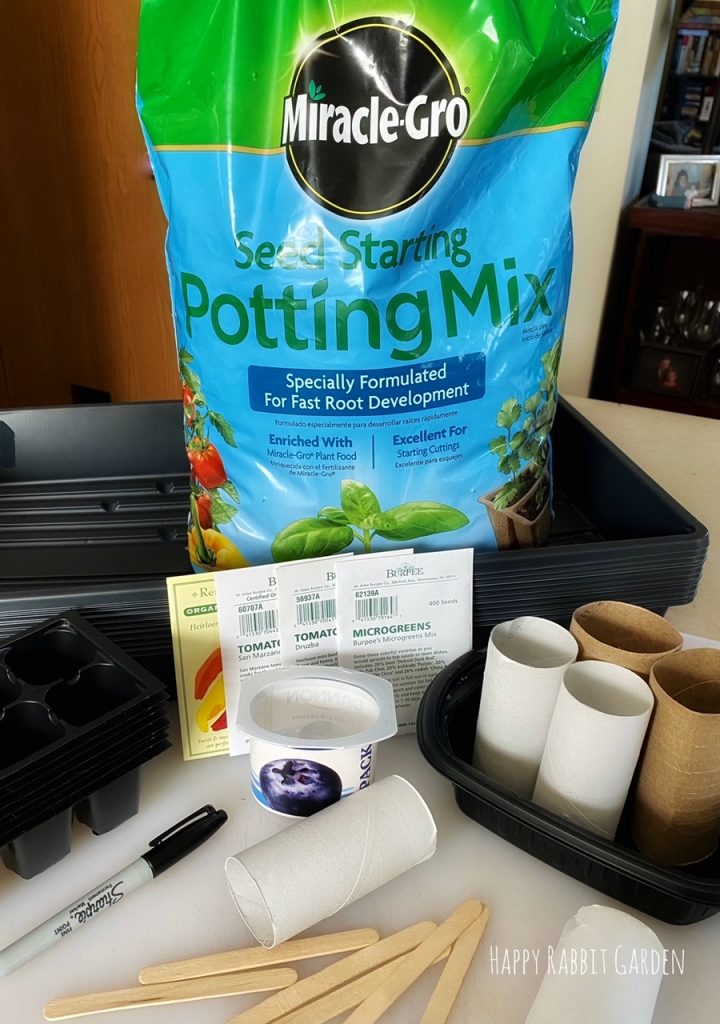
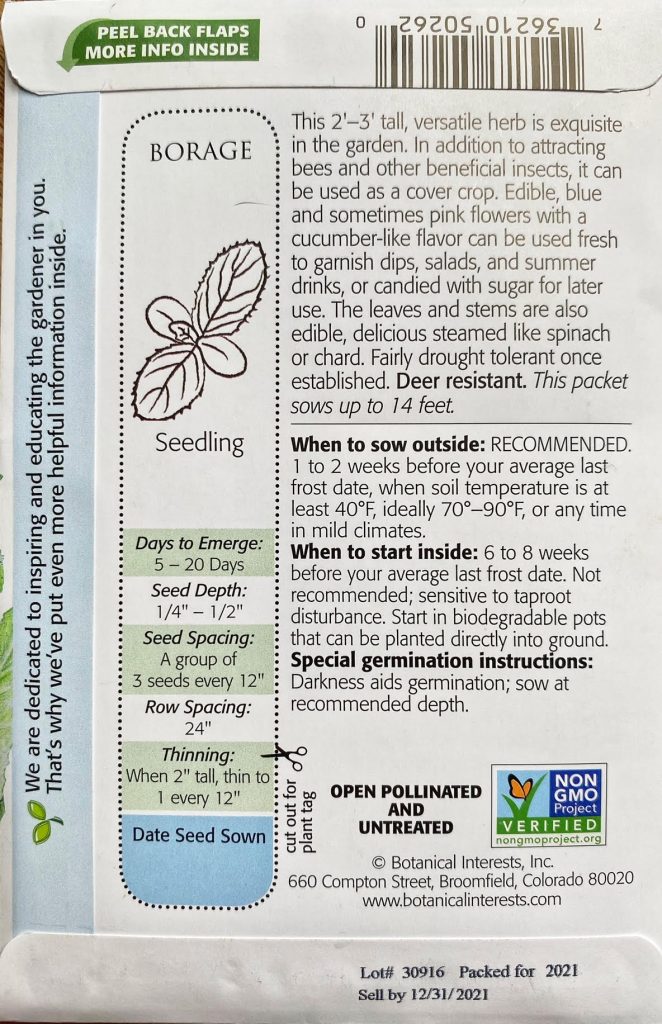
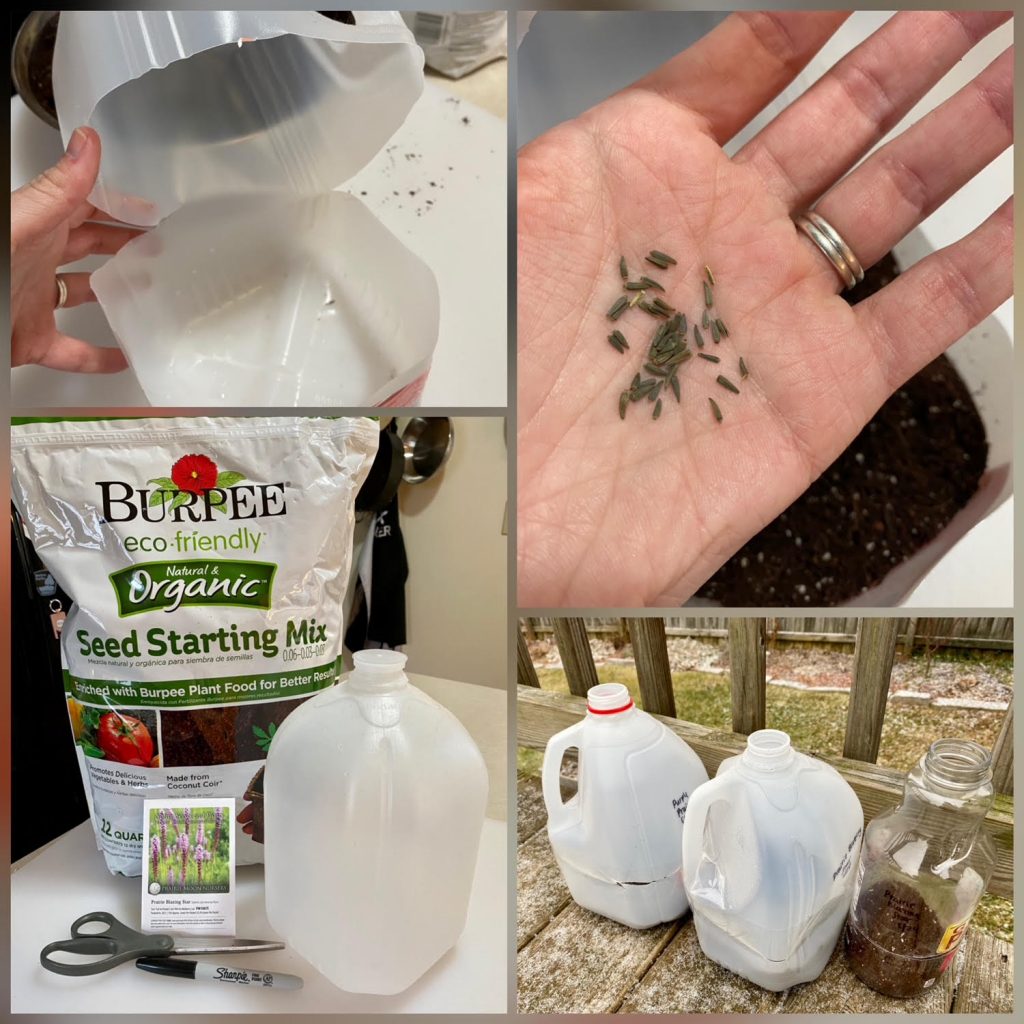
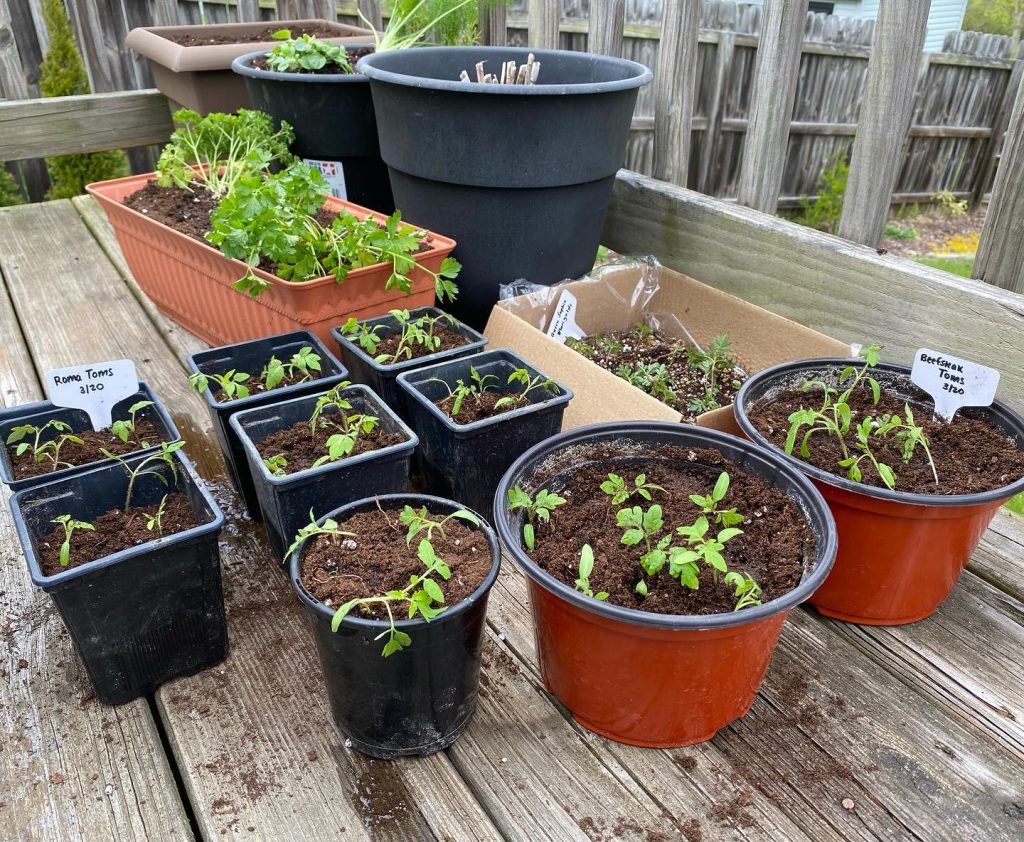
Indoors, the seedlings are coming along. The passion flowers seeds I started last week haven’t germinated quite yet, but the oregano and borage are sprouting, the basil had to be transplanted it grew so happily, and the italian sweet peppers and the druzba and san marzano tomatoes are coming along very nicely. The druzba’s sprouted a bit before the san marzano’s, and many of the plants are already over 6″ tall. It’s entirely possible that I’ll have waist-high tomatoes by the time I can plop them into the garden after the last frost date.
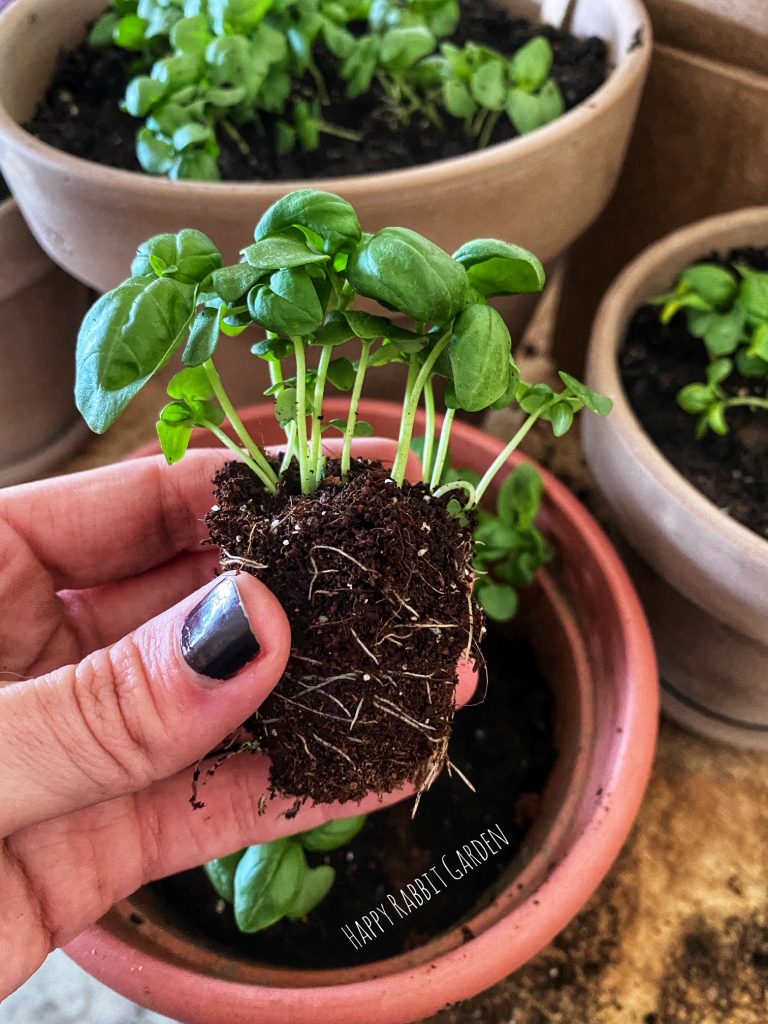
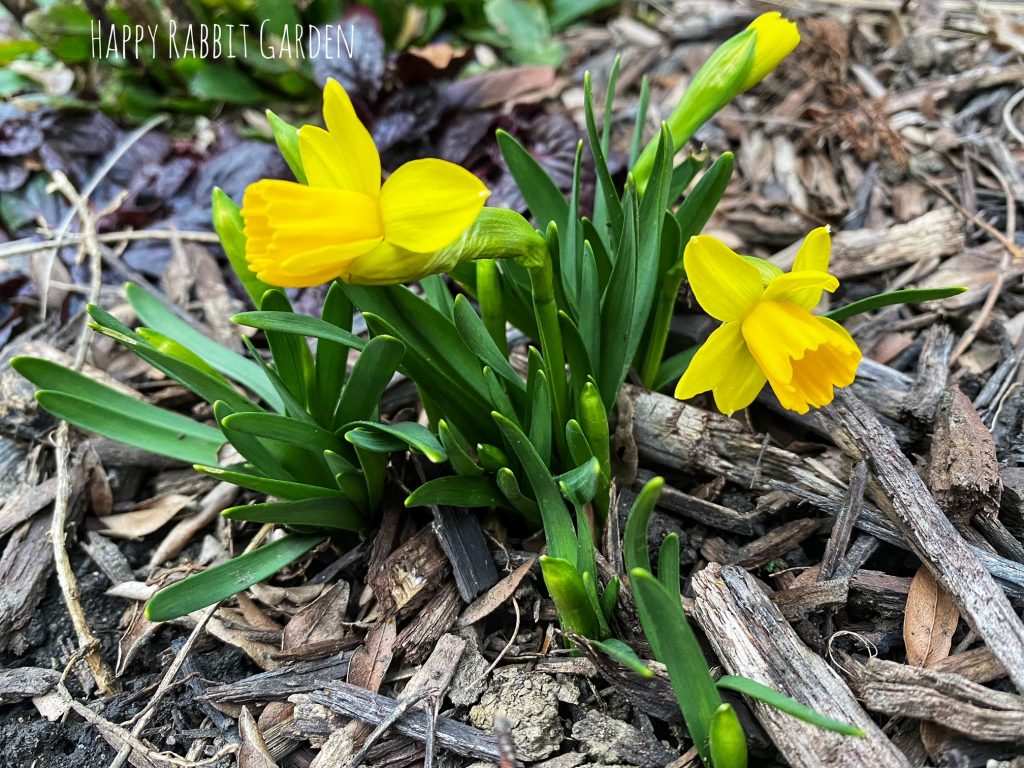
I’m excited to see all the changes in the garden over the next few weeks. It seems like things look so different from day to day at this time of year. It always feels like stumbling onto treasure when you spot something new sprouting.

Wishing you a fantastic week, with lots of sunshine. Happy gardening!

A Hodgepodge of Springtime Jobs

It’s officially springtime now, which means I spent the weekend bouncing around outside looking for gardening projects and giving any newly-awakened perennials Bambi Eyes.

There’s quite a lot popping up now, from my beloved peonies to the columbines and daisies. Our daffodils are beginning to bloom, and a few of the trees, like the cottonwoods, are beginning to bud. The grass is starting to grow again, too, getting its green color back.

I tackled quite a few projects over the weekend. The rogue strawberries that somehow charged through winter unscathed were transplanted into a pot on the deck. I cleaned up the garlic pots. The rock garden bed out front was weeded. I planted some bibb lettuce and sorrel in the cold frame, joining the baby lettuce blend that just sprouted there last week. And, I started some passion flower seeds indoors.

The husband built two more raised beds for the back yard, and we moved them into place. I’ll set some sheets down inside them this week to kill the grass off, then I need to order a bunch of dirt. We have a compost pile that I’ll empty into the beds, too, so the veggies will have lots of great food in the soil.

Finally, I transplanted the tomatoes and peppers into some larger containers. When you’re growing seedlings, and you start seeing roots peeking out of the bottom of your containers, it’s time to move your plants into larger homes.

It’s a pretty self-explanatory process to transplant your growing seedlings. Just be gentle, taking care not to touch the stems too much. They are very brittle when the plants are tiny, and you can easily damage them. Pot the seedlings up in a larger container, water, and set them back under your grow lights.

Once your plants hit this stage, it’s a great time to start fertilizing them. I use a 10-10-10 fertilizer for all of my seedlings. In fertilizers, you’ll see three numbers listed, which lets you know the percentages of nitrogen, phosphorus, and potassium in the mix. These are the three nutrients that plants need to survive. Things can get complicated pretty quickly in the fertilizer world, and there’s an overwhelming amount of information out there, but choosing a fertilizer with these three nutrients in balance is a safe bet for most of your vegetables as they first start growing.

The weather this weekend was ridiculously nice. We usually start springtime with cold days, and snow is certainly not unheard of in March. It’s been really sunny and warm here lately. The spring wildflowers should be here for us soon, and I’m very excited to see the Virginia Bluebells, Dutchman’s Breeches, Jack-in-the-Pulpits, and Great White Trillium that I planted last year. I’m trying to be patient and not start the rest of my seeds too early, but I am itching to start digging around outside again. Soon!

Hope you have a great week. Happy gardening!

We Built a Thing!

Not all gardening projects take place outdoors. (Wow. Look at me, being all philosophical).

This weekend, the husband and I built a potting bench for the garage. I’ve needed something like this for awhile. My collection of pots and containers has grown out of control after a few years of buying plants for the yard, and they were living in several un-architecturally- sound piles that spilled all over the garage. I’ve also needed a better space for all of the various types of soil I have, as well as my seeds and tools for potting up seedlings.

I used to haul everything into the kitchen, or onto the back deck every time I needed to plant something up in a pot, which was often. It was always a pain to juggle everything, and I typically managed to spill more than I planted. Also, most significantly, lugging everything around hurts. I have ankylosing spondylitis, which is fancy chronic illness speak for “my body and I don’t often see eye to eye.” I sometimes have issues walking and using my hands, so having to cart around pots, bags of dirt, plants, tools, etc. is always an adventure.

Anyway, I’d wanted to solve all the aforementioned problems by setting up a potting bench with some storage for awhile, and we finally took the plunge:

We plan to add some shelving at some point, but I am well pleased with the way this project turned out, and the space will come in handy in a couple weeks when I need to plant up the next of the seeds.

I have the name of this species of Hellebore written down in a notebook someplace…

Outside, the garden continues to wake up. Spring begins this Saturday in our hemisphere, for which, I am overjoyed. All the bulbs have sprouted now, and we should see some daffodils flowering before too long. Right now, the Blue Moon Crocus bulbs that I planted last fall (and then promptly forgot about) have been blooming in a gorgeous mix of white and purples, which has been a nice surprise. The hellebores are also in full bloom.

The basil, oregano, and bergamot seeds that I planted a few days ago are already starting to sprout. The whole seedling operation seems to be going pretty well so far this year. I’m excited to get the next raised beds built here in a few weeks so I can start the outdoor planting. Some seeds just grow better outdoors, in their final location, and so once it warms up just a bit more, I’ll get the next round of seeds going.

All I have planned for the week is to whine about the time change, obsess over the early-blooming flowers in the garden, and maybe, if I am feeling adventurous, I’ll put together a few bird houses with the wood scraps from the potting bench.

Happy Gardening!

Au Revoir, Old Man Winter

At this time of year, it kind of amazes me how much can change in a week. Our crocuses are now blooming. The leaves from the tulips, narcissus, and day lilies are beginning to appear. Even the birds are changing. I’m starting to see lots of red-winged blackbirds and mourning doves around the yard, and being able to hear more songbirds really helps affirm that spring will officially be here by the end of next week.

While our last frost date isn’t usually until the second week of May here in Central Ohio, the weather is definitely getting warmer. We’re expecting highs in the 60s all week, and while it will probably snow again by then end of the month, it really feels like the garden is starting to blink awake again.

I do a lap in the yard most days. In addition to the bulbs I mentioned above, our giant allium bulbs are starting to sprout. We have two different species of hellebores, and they are very close to blooming. The sedums, like our Autumn Joy (my favorite variety) are popping back up underneath the shoots from last year.

And inside, the Druzba and San Marzano Tomatoes, and Italian Sweet Pepper seedlings I started last month are coming along nicely. The peppers just sprouted in the past week, but many of the tomato seedlings are already growing their first true leaves. When seedlings sprout, the first leaves you see are called cotyledons, or “seed leaves.” The seed leaves won’t look like the leaves the plant will end up having once it starts to grow. They serve a really important purpose, though, using the nutrients from the seed to feed the plant until the true leaves develop, which is when photosynthesis begins. Like Bill Nye taught us, science rules.

Now that we’re cruising towards warmer weather, it’s time to begin planting my next round of seeds. This week, I plan to start my basil, oregano, and wild bergamot. In a few more weeks, I’ll start the rest of the seeds that will begin life indoors. And a few, like the leeks, lettuce, carrots, parsley, little blue stem, and prairie drop seed, will be directly sewn outdoors around the end of the month. That means I need to get my ass in gear and build the next two raised beds and get them topped off with compost and dirt here in the next few weeks. Oh darn. More dirt will require a trip to the garden center… wonder what else I can find while I’m there…

Hope these last few days of winter find you well. Happy gardening!

Growing from Seeds

Well, I’ve poured through the seed catalogs. I ordered more seeds than I can possibly use. I bought dirt. I dug through the piles of old seed-starting supplies in the garage. I put together my nifty little spreadsheet about when to begin sowing everything. And, I riffled through last years notes on what went well, and what… didn’t. There’s really nothing left to do but start planting.

A lot of my seeds don’t need to be planted until next month, but a few (the tomatoes, micro greens, and peppers), are ready for sowing now. So, today I gathered up everything and hopped to it.

There’s something really special about growing your own food. Being able to walk outside, pick a tomato, and then cook with it brings me a lot of joy. And starting the process from seed feels even better. There’s a magic to it. When my seeds germinate, I feel like I did something amazing, even though, I was really just a bystander that fretted about watering the seedlings too much. When you are growing from seeds, you have control over the entire process. You know what, exactly, has been put on your crops (and what has not), and you are able to utilize a much wider selection of plant varieties than typically found at the garden center.

The process for seed-starting is pretty basic. There are a few supplies you shouldn’t skimp on, but also quite a lot that you can re-use, including the pots themselves. You can grow your seeds in egg cartons, old yogurt containers, paper towel tubes, etc., and there’s lots of seed-starting kits available as well. Whatever you choose, make sure your container has plenty of drainage holes at the bottom of it.

Next, let’s talk dirt. I used to use whatever dirt I could find around the house, which was usually potting soil from some indoor plant experiment gone wrong. Potting soil is fine, but if you can find a seed-starting mix, that’s going to be your best bet for planting up your seeds. Seed-starting soils are sterile, meaning that there’s no molds, fungus, or bugs in them that could take out the wee seedlings you’re about to spend so much time fawning over. You can even make up your own if you’re feeling adventurous. Moisten your dirt before potting things up.

Finally, you’ll need your seeds, and it helps to have a container to house your growing trays in. Your seeds will also really benefit if you are able to use grow lights. Your seeds need quite a lot of light, and even the sunniest window sills may not provide enough for healthy plants to grow. Seedlings will be “leggy” without enough light, meaning they grow very thin, with tiny, pale leaves. They aren’t strong enough to support themselves, and won’t grow into healthy plants.

Once you have all your supplies, it’s time to get planting. Soak your seeds in water for a few minutes before planting to help with germination. Then, follow the instructions on your seed packet for planting depth. I usually sprinkle two seeds onto each little space in the containers. That way, if one doesn’t germinate, I’m not out any time.

I label what I planted by writing the name on a popsicle stick and sticking one into each row. I used to just tape the sides of the containers and label them that way, but the marker on the tape would bleed after two months of watering, and then I couldn’t tell what was what.

I set the containers into a tray, and then fill the tray with water to keep from disturbing the seedlings too much. The trays soak up water from the bottom and I don’t end up with dirt shooting all over the house from over-zealous spray-bottle action.

Place your seeds under a grow light, which you will want to keep on for a good 12-16 hours per day. I use 75W LED lights for my seedlings, suspended about 4″ above the plants. For my pepper plants, I also use a heat mat underneath. Peppers are fussy and require lots of heat to germinate.

Something I hadn’t tried in years past, but that I am doing this year, is covering my seed trays in plastic. The humidity will help the seeds germinate, so a clear plastic cover (or in my case, some plastic wrap, propped up by the plant label popsicle sticks) is beneficial. Once your seeds sprout, you can remove the covers since they won’t need so much humidity any more.

Finally, make a note someplace about when you started your seeds. I’ve found it really helpful to keep a gardening journal for this purpose. It’s fun to look back on your garden through a journal each year, and having a place to keep notes helps you remember what works well and what you’d like to improve.

I’ll keep everyone apprised of my seedling progress this winter and spring, but that’s all I have for now. Happy gardening!

Winter Sowing Palooza

Last weekend, I set out a few more suet blocks for the birds. It took a couple of days, but suddenly, the yard was full of woodpeckers and a giant gang of feisty grackles. The grackles swoop into the yard in droves, yelling at anyone in earshot and driving our cats wild as they jockey for the best spot at the feeders. Grackles have really pretty iridescent feathers that they use to lure you in before attacking your face with sound. Seriously. There cannot be louder birds out there anywhere.

The commotion in the yard feels good, though. Winter days are isolating, especially in the pandemic, and it’s nice to be reminded of all the critters that I’m connected to (even if it’s just as a caretaker of their outdoor home).

Back inside, I’ve been working on my seed starting spreadsheet. There’s a lot of dates to keep track of and I do better when I over-organize projects. So, step one is to list all of my seeds, with the planting method (will I direct sow them/winter sow/start indoors), sowing dates, and planting instructions.

Each seed packet gives a lot of information. Take, for example, this borage seed packet from Botanical Interests. The back of the packet tells me that these seeds will grow better if I directly plant them outside, just before the last frost date. The seeds should be planted 1/4″-1/2″ deep, and I should see growth in 5-20 days. While I’m planning to grow this borage for the bees to enjoy, apparently, the flowers, leaves, and stems are edible. Who knew.

I’m tracking these details on my spreadsheet, and then sorting the sheet by planting method. The majority of my seeds will be planted directly in the ground after the last frost date. Some of the more fussy plants, like the tomatoes and peppers, I’ll be starting inside, under grow lights. The seed packet will give a good idea of when to get things going, usually by stating how many weeks before the last frost date to plant. Know Thy Last Frost Date. Everything kind of lives by this when gardening. Literally.

While I’m still a few weeks away from starting my indoor seeds, now is a great time of year to start winter sowing.

Winter Sowing is something I’ve seen gardeners doing for awhile, but this will be my first year trying this particular sowing method. Basically, the idea is to start seeds outside, in containers. Seeds that need to stratify over a cold period to break their dormancy will thrive in this method, as will many other plants, from vegetables to herbs. Winter Sown Educational provides free, downloadable lists for which plants work well with winter sowing. I highly recommend looking through their website to see if you can try out some of your seeds this way.

Starting seeds by winter sowing has a lot of benefits. It’s very cost effective. You don’t need grow lights, or a lot of space. All that’s required, material-wise are your seeds, some seed-starting soil, and an empty container like a milk jug (grab one from the recycling bin and feel extra good for re-using your plastics). Finally, winter sowing saves water, since you don’t have to water your seedlings at all unless they seriously dry out. And plants that are sown this way won’t have to be hardened off, because they’ve grown up outside. (Hardening off is when you slowly expose your growing seedlings to the outdoors before planting so they can adjust to the sunlight, wind, and temperatures of the outdoors).

The process is pretty simple. Collect some empty milk jugs or other plastic bottles, seed starting soil, tape, a marker, a knife or scissors, and your seeds. Puncture a few little holes into the bottom of your container.

Next, cut your container in half. I cut mine most of the way around, leaving a little spot to act like a hinge. Lightly wet down your soil, and add it to the container, a few inches deep. Check your seed packet for planting instructions. Gently pat down the dirt over your seeds so they make contact with the soil. Lightly water them, then tape the container back together. Duct tape works great for this, as does the packing tape you randomly found in the box with your Christmas wrapping paper. Mark the container with the type of plant, and the date. Finally, set the container outside in an area where the top won’t be blocked by anything. You want to keep the top of the container off so the rain and snow can get in and water your seeds.

Check on your seeds every so often if it’s been dry, but otherwise, this is a great “set it and forget it” method of starting plants. Happy gardening!

Seedy Times

“Anyone who thinks gardening begins in the spring and ends in the fall is missing the best part of the whole year; for gardening begins in January with the dream.”
-Josephine Nuese

It’s a frosty morning here in Ohio, but I guarantee I’m not the only gardener with spring planting on the mind. For the past few years, I’ve been growing a variety of vegetables, herbs, and flowers from seed. While I won’t actually drop any seeds into dirt for another few months, this time of year is when it all begins.

Once the seed catalogs start arriving, I begin plotting. I pour through each of them, scribbling down notes about what all I want to stick in the yard this year. Then, I look at the previous years garden journal, and spot that I already made notes there about what I wanted to plant in the upcoming season. Past me is practical. Current me is shouting to the cats about how many new tomato varieties I want to try.

Next, I head to the local garden center, and my eyes glaze over as I start tossing seed packets into my handbasket at random, entirely forgetting about the wish lists I’d worked on at home.

Once the dust settles, I sit down to decide what I really want to tackle in the upcoming season. Last year was my most successful seed-growing venture to date. I finally invested in some decent grow lights, the whole production was moved to a cat-free location (two years ago, disaster struck my wee seedlings, in the form of an adventurous calico kitten), and I managed to stick to a watering schedule.

I grew beef steak and roma tomatoes, fennel, basil, oregano, dill, and parsley, started some madder for dyeing, and later in the season, I direct-sowed several types of sunflowers, cosmos, marigolds, pole beans, sugar pie pumpkins, arugula (rocket), and bibb lettuce.

I’ll go into further details about the planting process in future posts, but for now, here are my Seed-Planting Plans:

Veggies
-Carrots (Lake Valley Seed- Heirloom Tendersweet Carrots)
-Leeks (Burpee- Dawn Giant Leeks)
-Lettuce (Burpee- Bibb Blend Lettuce)
-Lettuce (Renee’s Garden- Renee’s Baby Leaf Lettuce Blend)
-Microgreens (Burpee- Burpee’s Mix Microgreens)
-Parsnips (Botanical Interests- All American Parsnips)
-Peppers (Renee’s Garden- Heirloom Italian Sweet Peppers Sunset Mix)
-Pie Pumpkins (Burpee- Heirloom Small Sugar Pie Pumpkins)
-Pole Beans (Kentucky Wonder pole bean seeds that I harvested from last seasons crop)
-Tomatoes (Burpee- Druzba Tomatoes)
-Tomatoes (Burpee- San Marzano Tomatoes)
Herbs
-Basil (Renee’s Garden- Italian Pesto Basil)
-Dill (Lake Valley Seed- Heirloom Mammoth Dill)
-Fennel (Lake Valley Seed- Heirloom Florence Fennel)
-Oregano (I haven’t bought this yet)
-Parsley (Botanical Interests- Giant of Italy Flat-Leaf Parsley)
-Parsley (Botanical Interests- Moss Curled Parsley)
-Thyme (Renee’s Garden- French Thyme)
Flowers
-Chamomile (Lake Valley Seed- German Chamomile)
-Marigolds (Burpee- Happy Days Marigolds)
-Sunflowers (Autumn Beauty Sunflower seeds that I harvested last season)
-Sunflowers (Mammoth Sunflower seeds that I harvested last season)
-Zinnias (Renee’s Garden- Berry Basket Bouquet Zinnias)

In these weird pandemic times, planting seeds feels hopeful. It’s a nice distraction from the world, and, at least to me, few things feel better than the joy of watching your seeds sprout and turn into food and plants that you can later harvest and enjoy.

Happy gardening!