
Well, I’ve poured through the seed catalogs. I ordered more seeds than I can possibly use. I bought dirt. I dug through the piles of old seed-starting supplies in the garage. I put together my nifty little spreadsheet about when to begin sowing everything. And, I riffled through last years notes on what went well, and what… didn’t. There’s really nothing left to do but start planting.
A lot of my seeds don’t need to be planted until next month, but a few (the tomatoes, micro greens, and peppers), are ready for sowing now. So, today I gathered up everything and hopped to it.
There’s something really special about growing your own food. Being able to walk outside, pick a tomato, and then cook with it brings me a lot of joy. And starting the process from seed feels even better. There’s a magic to it. When my seeds germinate, I feel like I did something amazing, even though, I was really just a bystander that fretted about watering the seedlings too much. When you are growing from seeds, you have control over the entire process. You know what, exactly, has been put on your crops (and what has not), and you are able to utilize a much wider selection of plant varieties than typically found at the garden center.
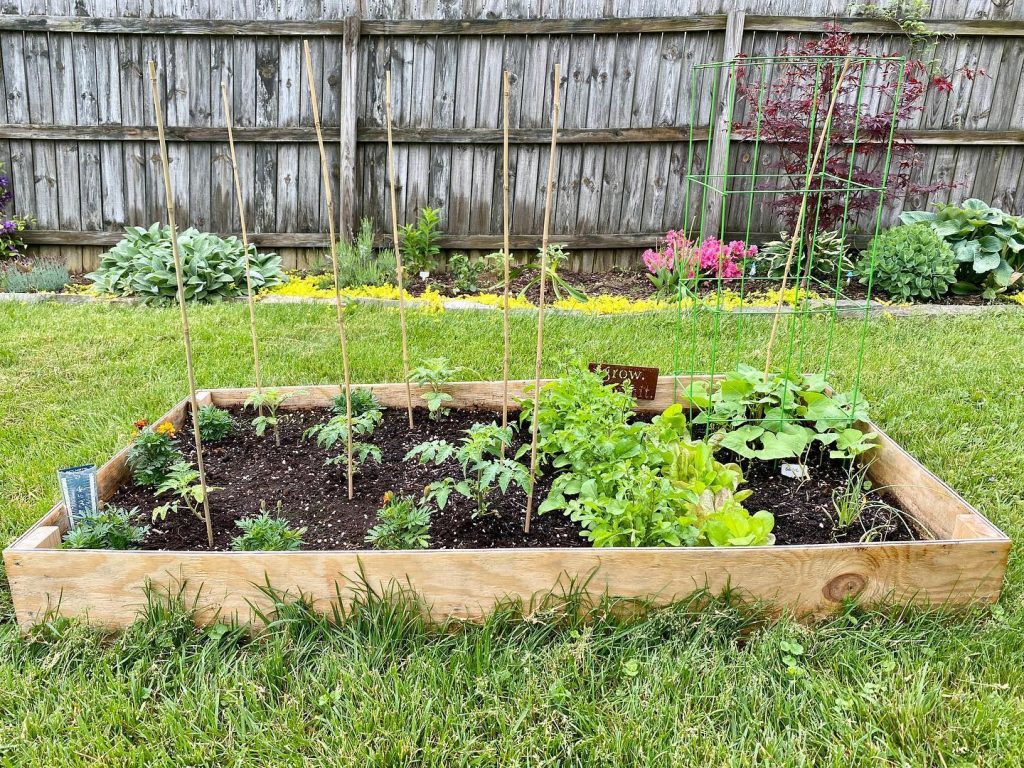
Last May in one of the raised beds: marigolds, tomatoes, lettuce, rocket, green beans, and garlic. Yum!
The process for seed-starting is pretty basic. There are a few supplies you shouldn’t skimp on, but also quite a lot that you can re-use, including the pots themselves. You can grow your seeds in egg cartons, old yogurt containers, paper towel tubes, etc., and there’s lots of seed-starting kits available as well. Whatever you choose, make sure your container has plenty of drainage holes at the bottom of it.
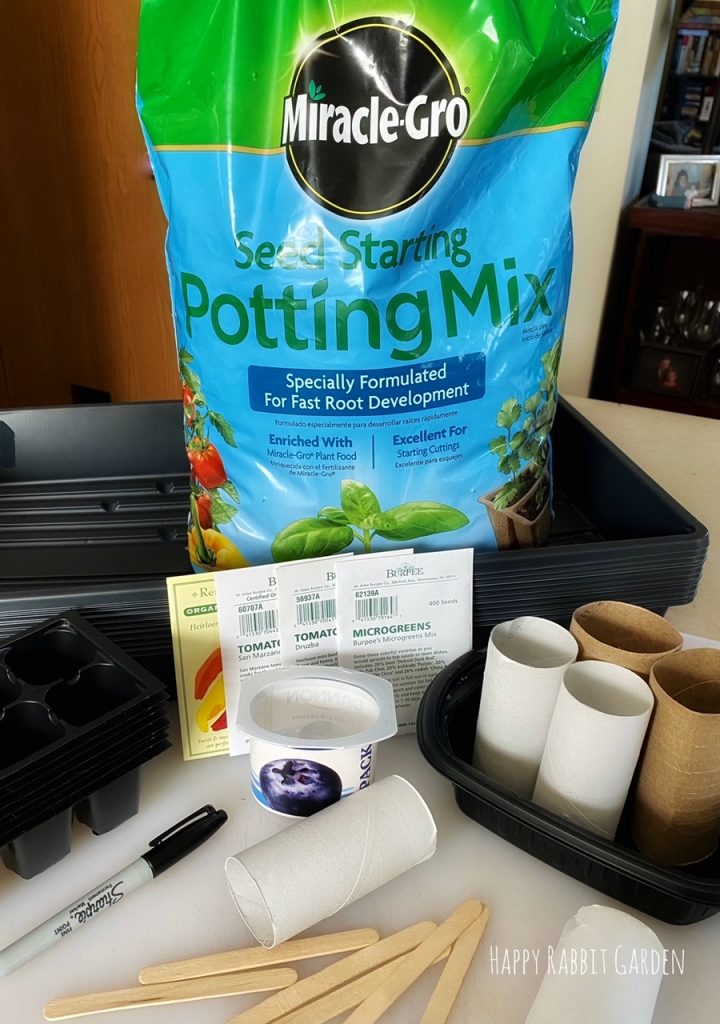
Next, let’s talk dirt. I used to use whatever dirt I could find around the house, which was usually potting soil from some indoor plant experiment gone wrong. Potting soil is fine, but if you can find a seed-starting mix, that’s going to be your best bet for planting up your seeds. Seed-starting soils are sterile, meaning that there’s no molds, fungus, or bugs in them that could take out the wee seedlings you’re about to spend so much time fawning over. You can even make up your own if you’re feeling adventurous. Moisten your dirt before potting things up.
Finally, you’ll need your seeds, and it helps to have a container to house your growing trays in. Your seeds will also really benefit if you are able to use grow lights. Your seeds need quite a lot of light, and even the sunniest window sills may not provide enough for healthy plants to grow. Seedlings will be “leggy” without enough light, meaning they grow very thin, with tiny, pale leaves. They aren’t strong enough to support themselves, and won’t grow into healthy plants.
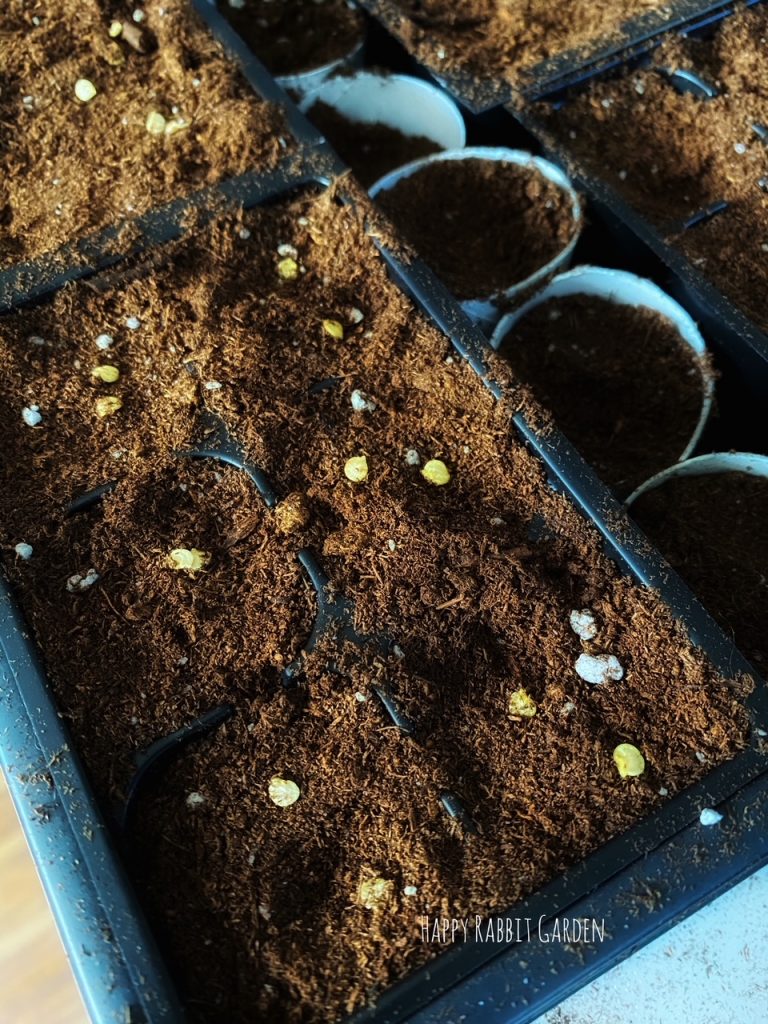
Once you have all your supplies, it’s time to get planting. Soak your seeds in water for a few minutes before planting to help with germination. Then, follow the instructions on your seed packet for planting depth. I usually sprinkle two seeds onto each little space in the containers. That way, if one doesn’t germinate, I’m not out any time.
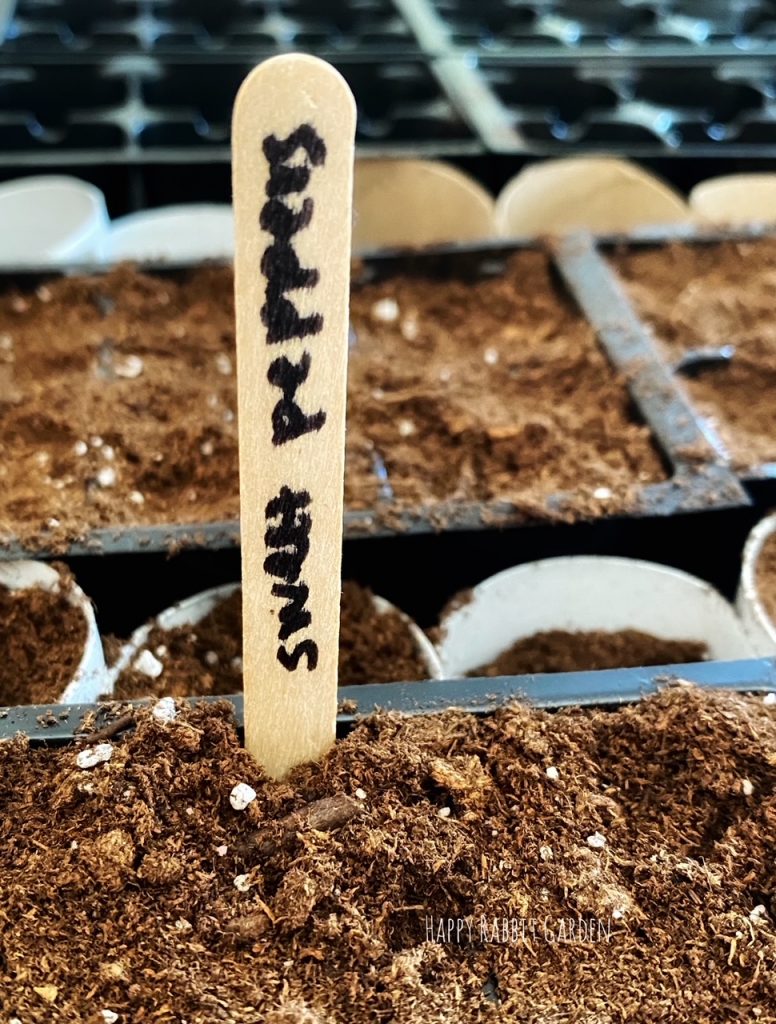
I label what I planted by writing the name on a popsicle stick and sticking one into each row. I used to just tape the sides of the containers and label them that way, but the marker on the tape would bleed after two months of watering, and then I couldn’t tell what was what.
I set the containers into a tray, and then fill the tray with water to keep from disturbing the seedlings too much. The trays soak up water from the bottom and I don’t end up with dirt shooting all over the house from over-zealous spray-bottle action.
Place your seeds under a grow light, which you will want to keep on for a good 12-16 hours per day. I use 75W LED lights for my seedlings, suspended about 4″ above the plants. For my pepper plants, I also use a heat mat underneath. Peppers are fussy and require lots of heat to germinate.
Something I hadn’t tried in years past, but that I am doing this year, is covering my seed trays in plastic. The humidity will help the seeds germinate, so a clear plastic cover (or in my case, some plastic wrap, propped up by the plant label popsicle sticks) is beneficial. Once your seeds sprout, you can remove the covers since they won’t need so much humidity any more.
Finally, make a note someplace about when you started your seeds. I’ve found it really helpful to keep a gardening journal for this purpose. It’s fun to look back on your garden through a journal each year, and having a place to keep notes helps you remember what works well and what you’d like to improve.
I’ll keep everyone apprised of my seedling progress this winter and spring, but that’s all I have for now. Happy gardening!